How To Diagnose A Non Working Lower Display on ACS Vostok Dual Boiler Lever Espresso Machine
If the upper display does not function properly, please make sure the reservoir is filled with water. If the water level in the reservoir is too low or the low water level sensor is not inserted into the top tank cover properly, the upper display may shut off.
If the lower display is not functioning which also leads to the upper display not functioning, there are several items to check.
The upper panel and lower panel need to be removed to access the main controller/brain unit. The upper panel is straightforward, but do remember the positioning on the screws as some may be longer. ACS created a video to download for instruction on how to remove the back panel.
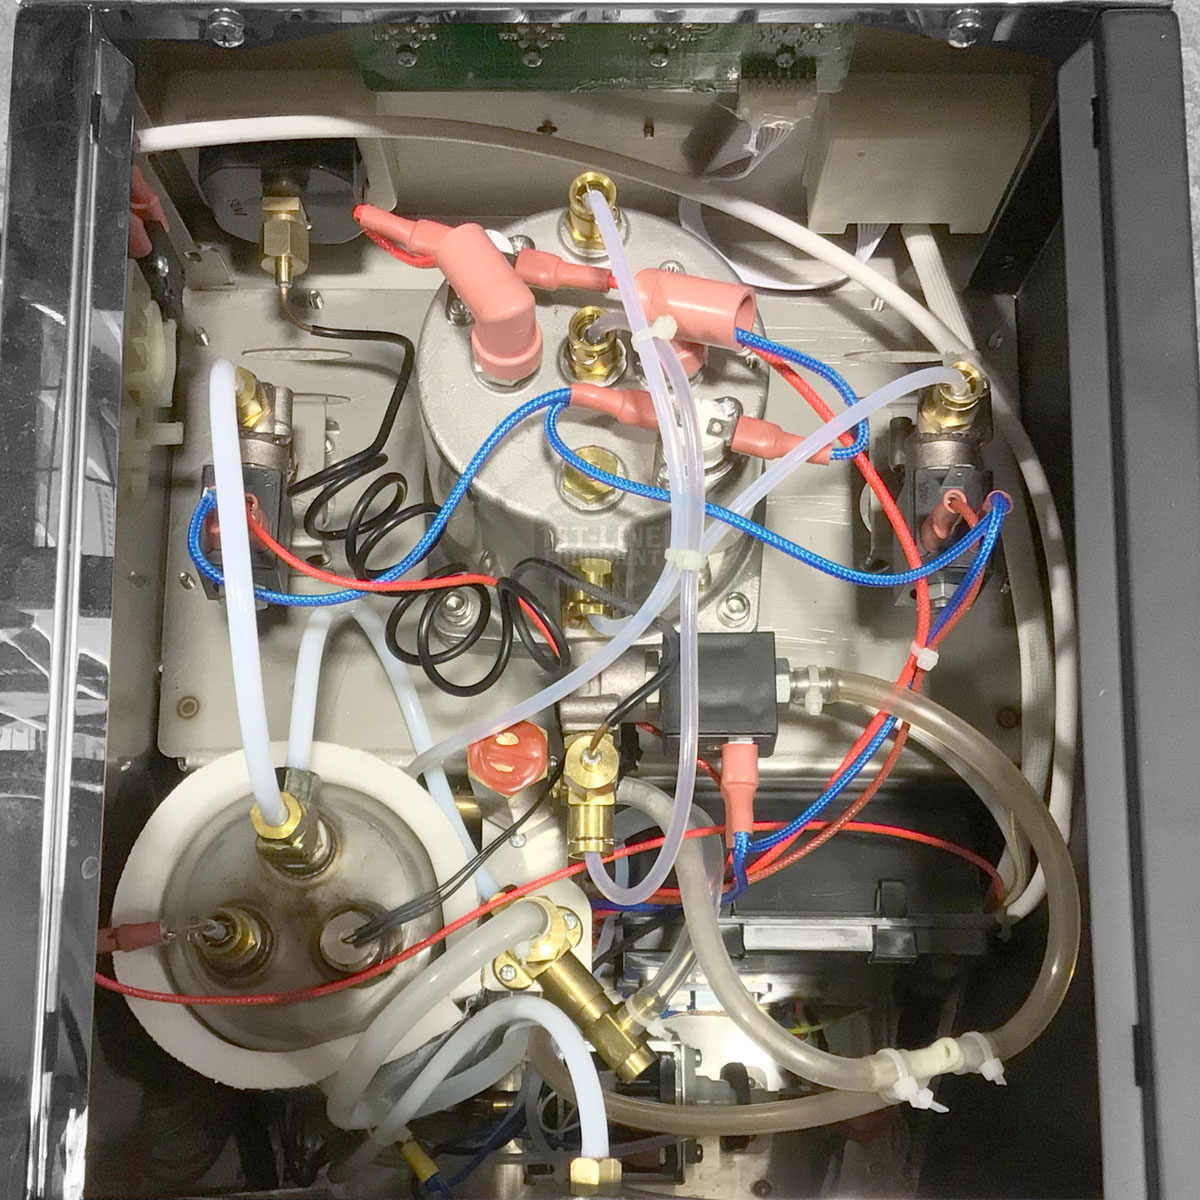
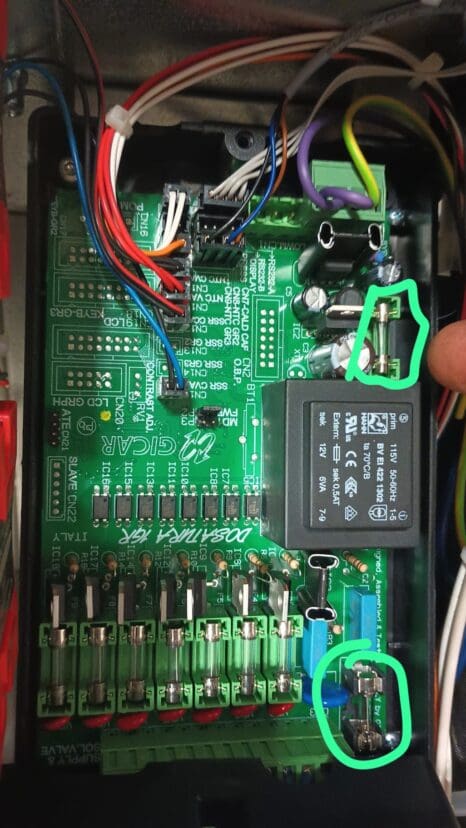
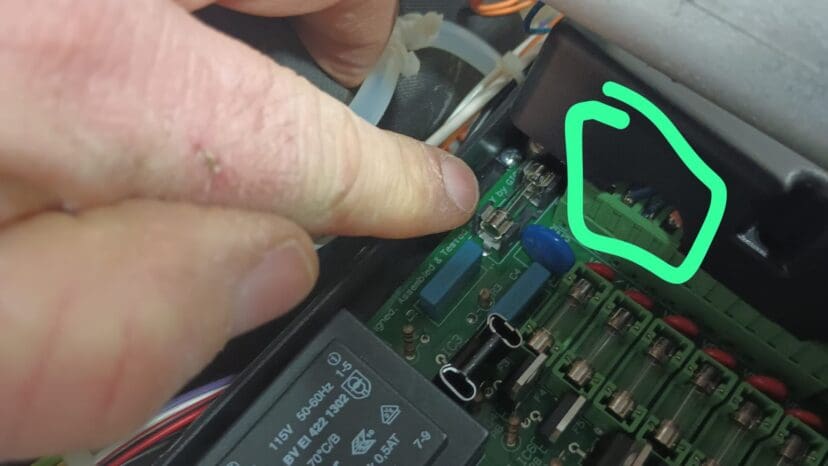
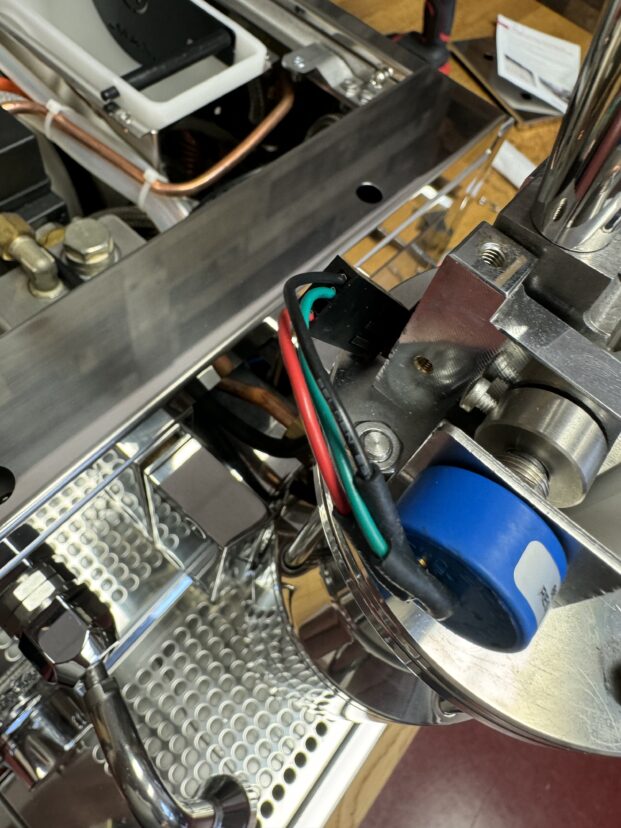
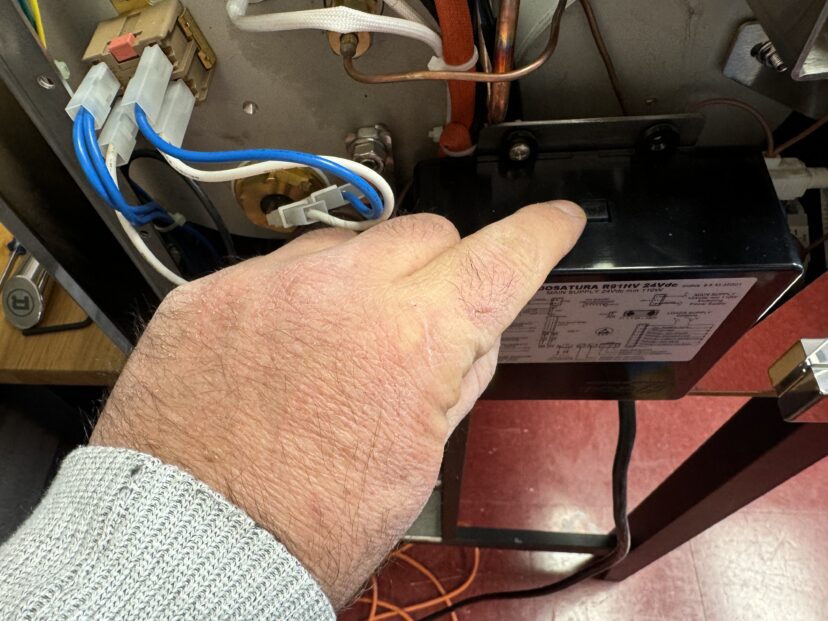
Proceed to remove the cover of the black panel – usually 1 screw on top and one on bottom. In the picture below, there are 2 fuses circled. Please remove one at a time and check for continuity with a multimeter. One fuse is 0.5 amps and the other can be 3 or 5 amps. Please do not mix them up. If the fuses are blown, it means a surge or brown out damaged the fuses through the electrical cord. Surge suppression of 108 joules on the outlet can minimize the effect for the future.
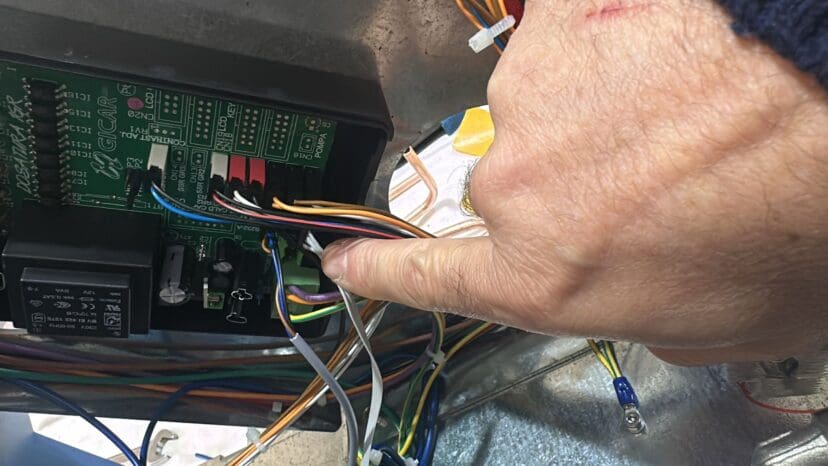
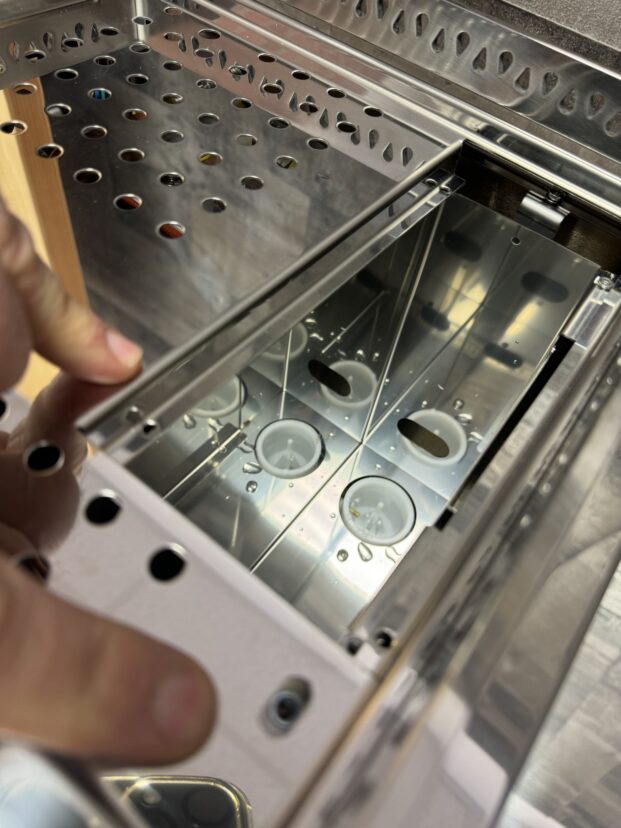
Next is to inspect the grey computer ribbon cable as shown below. You can pull from the connector (not the cable) to remove it and reinsert it.
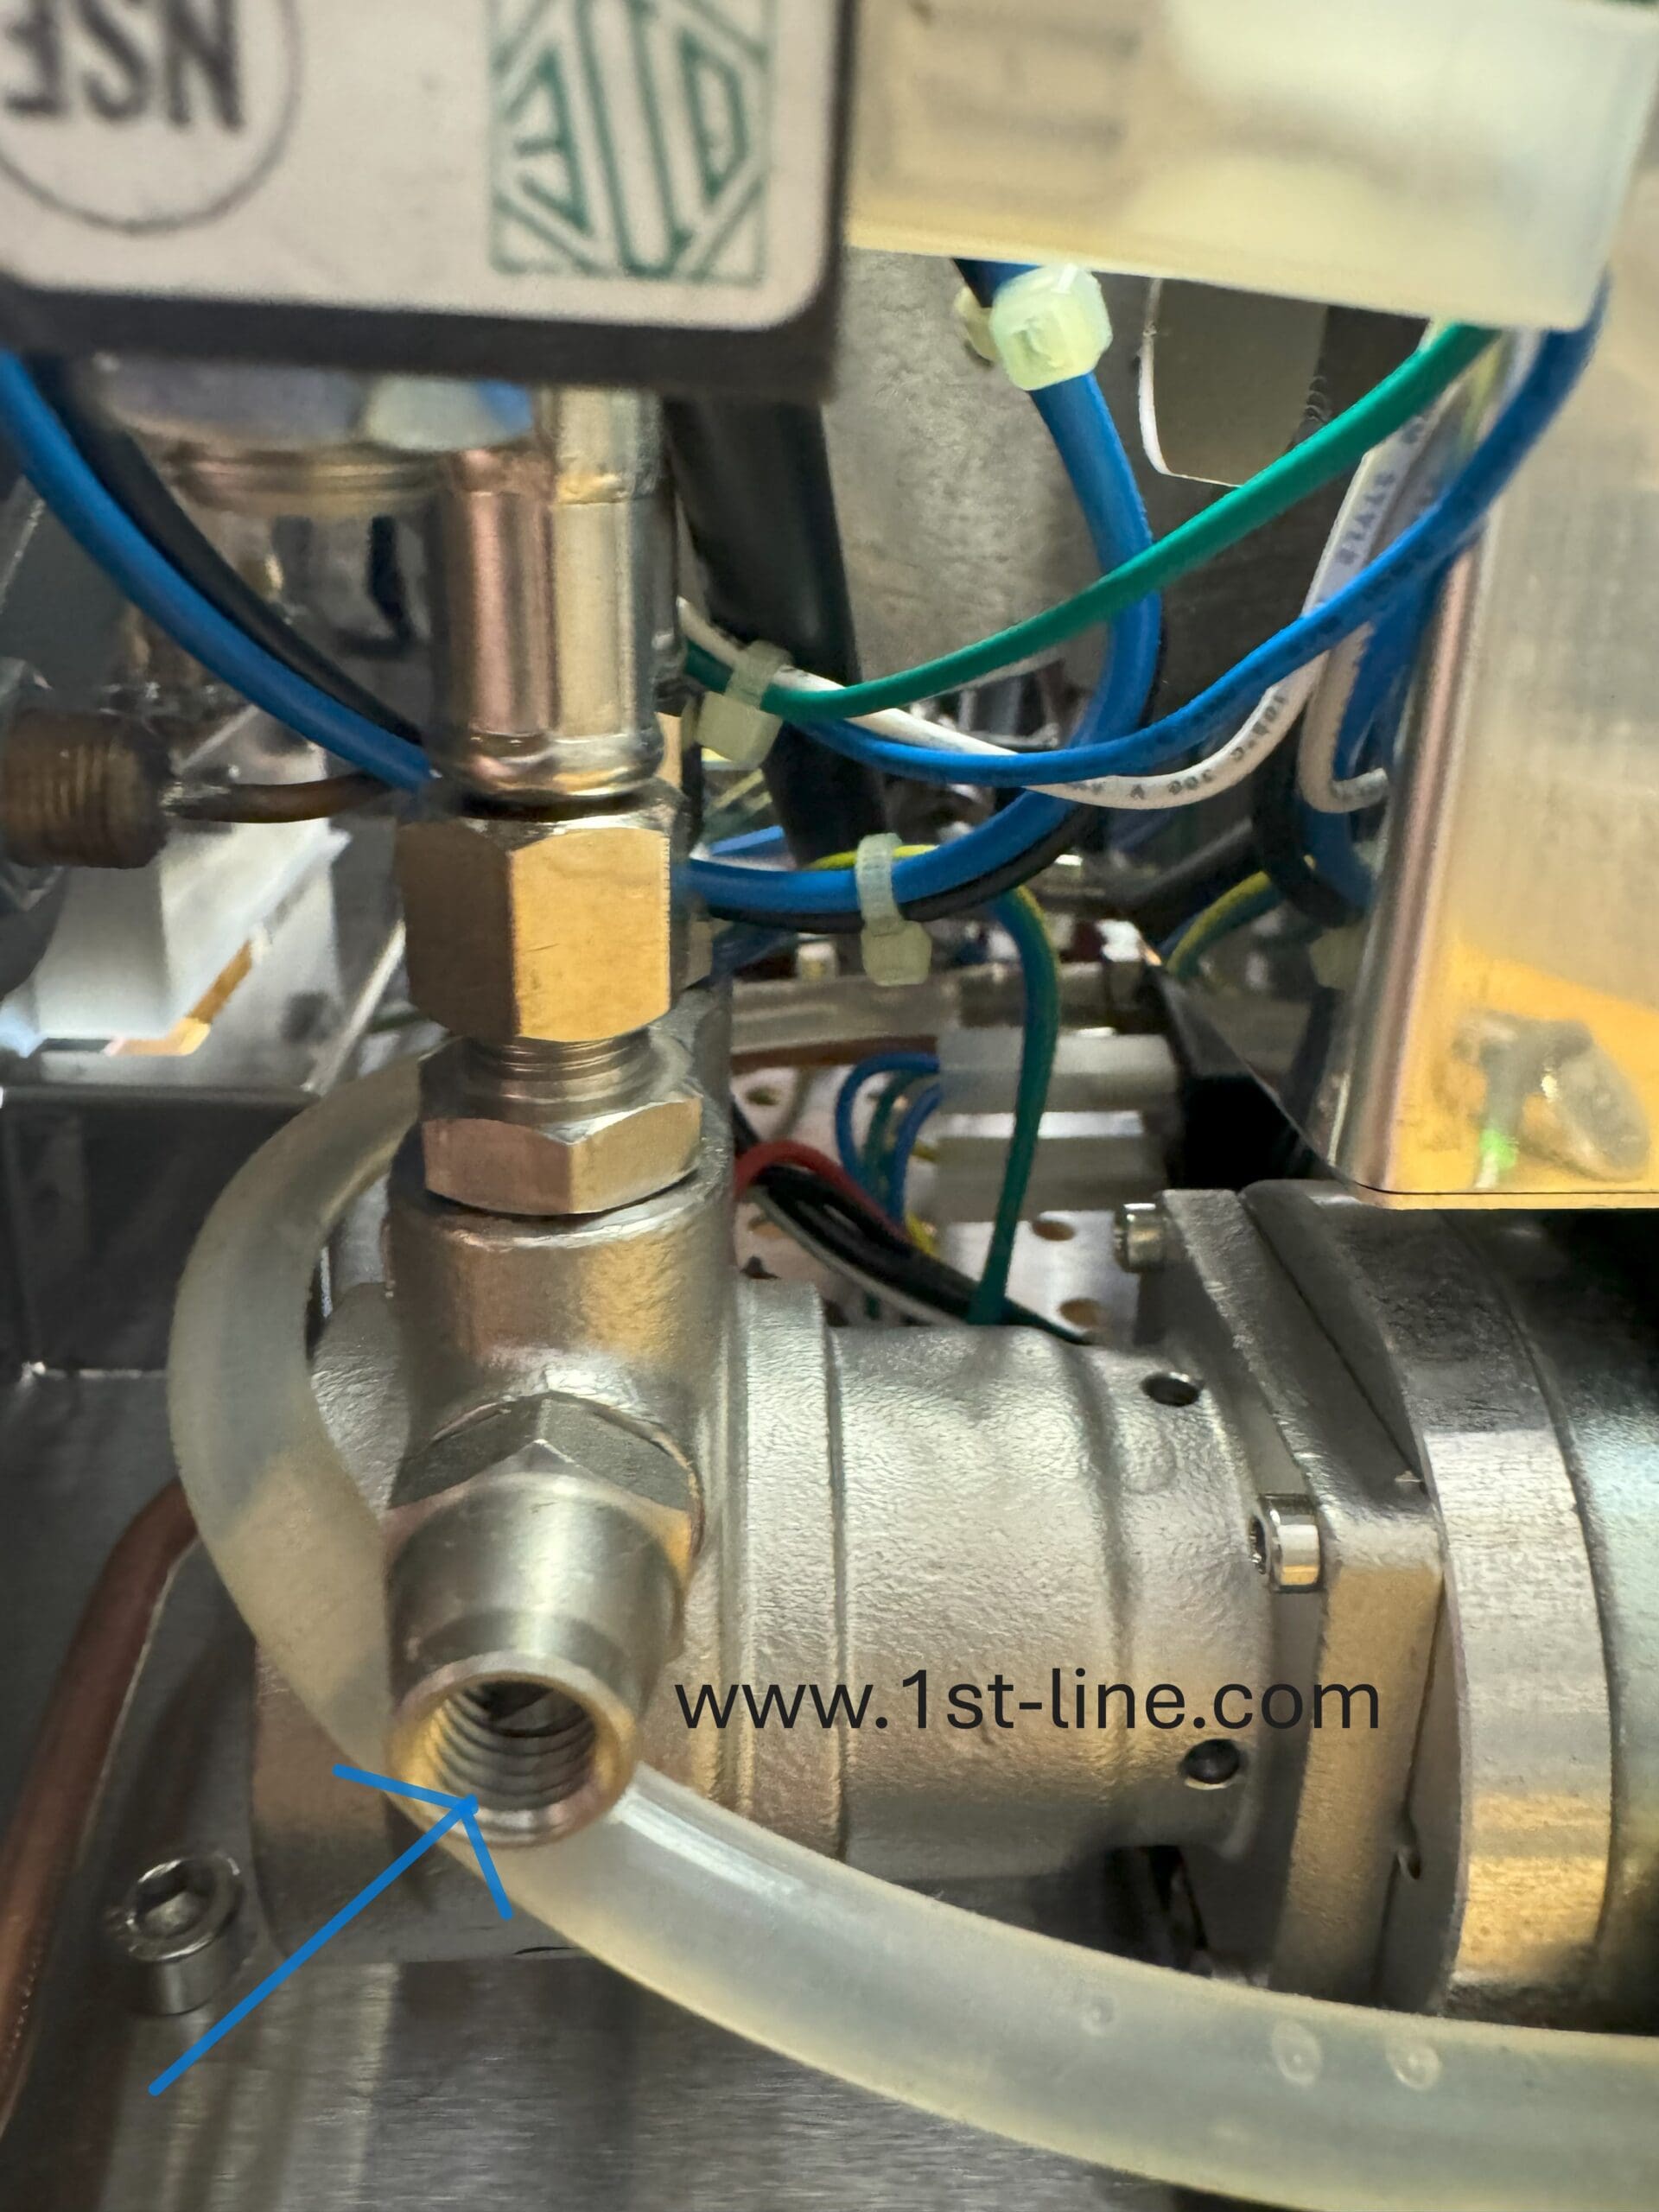
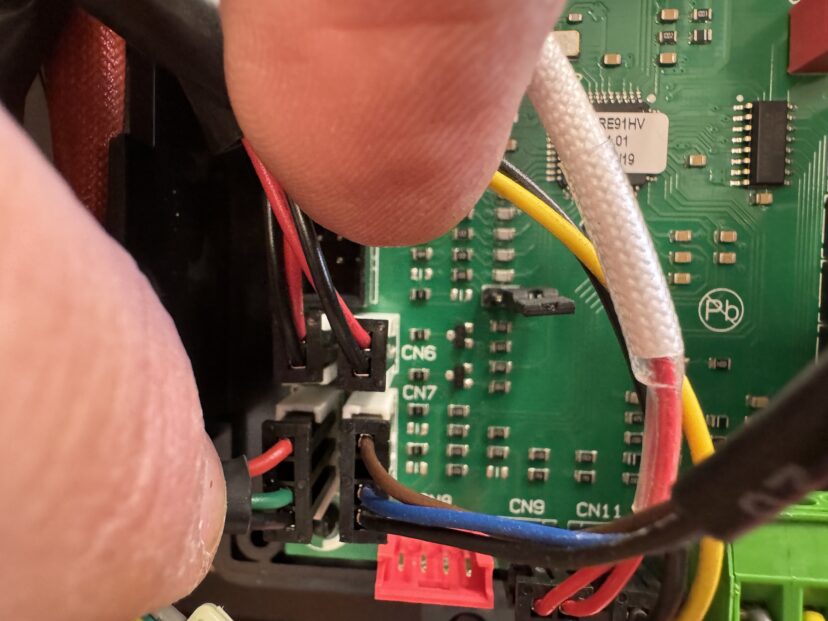
If you do not know how to use a multimeter, please do not proceed. In the next photo, the voltage needs to be checked across position 1 and 3 on the circled green connector next to the fuse as shown. This confirms 110 volt power is incoming into the brain unit.
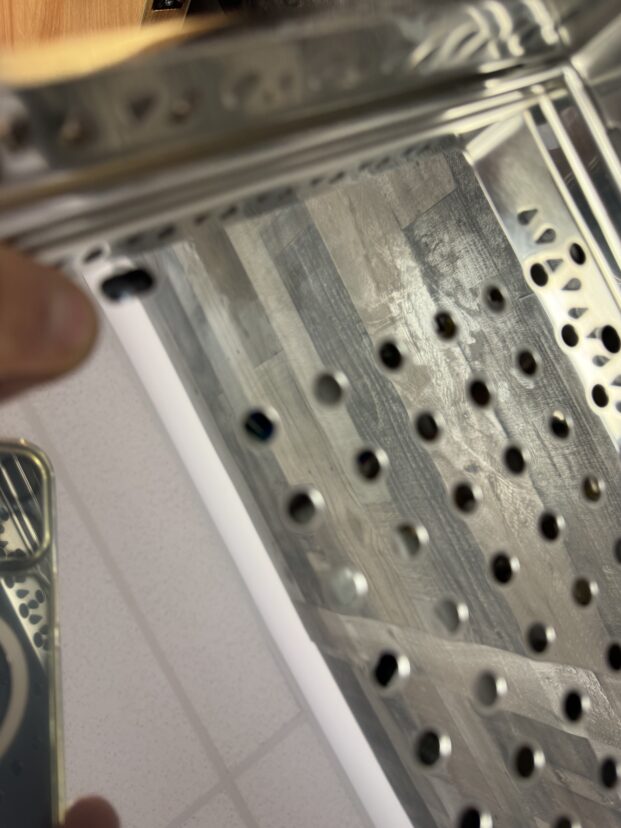
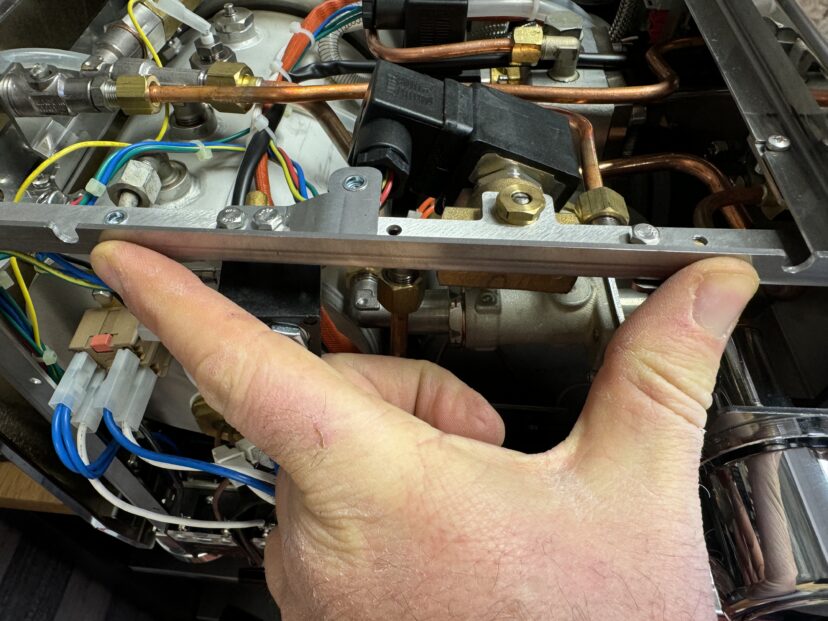
The next step will require removal of the left side panel when facing front. First, two (2) allen key screws need to be removed from inside the panel. Finger is pointing to one and the other is to right of screw being pointed to.
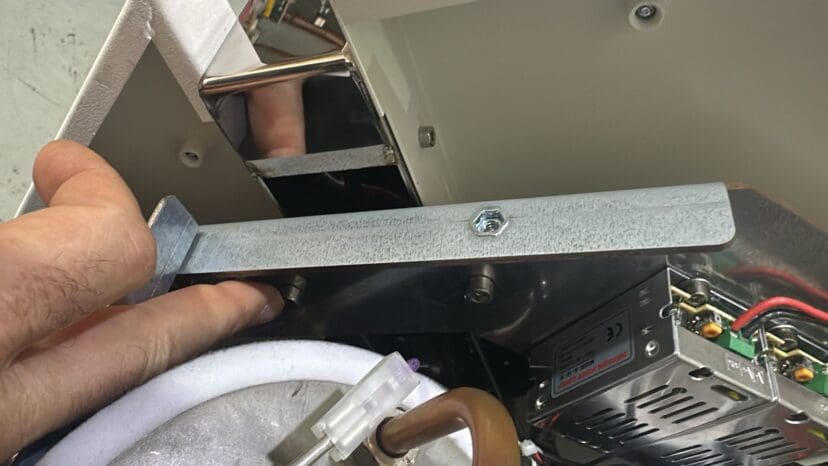
2nd Allen key screw to be removed.

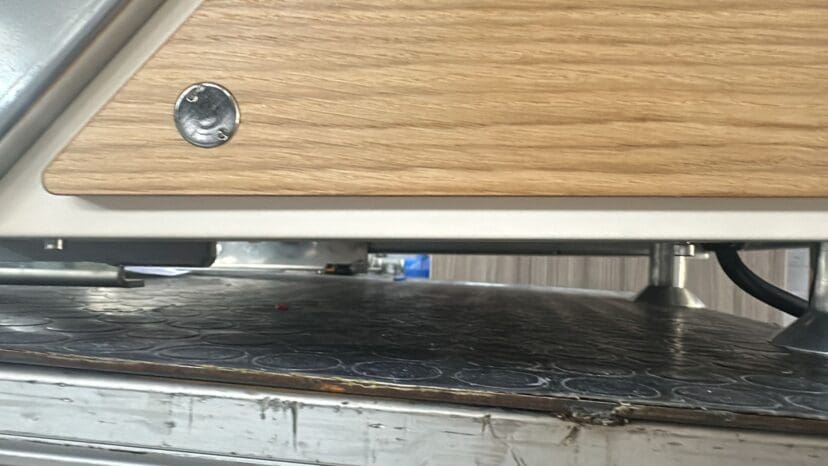
On the bottom are two smaller Allen key screws that need to be removed and the panel will slide off.
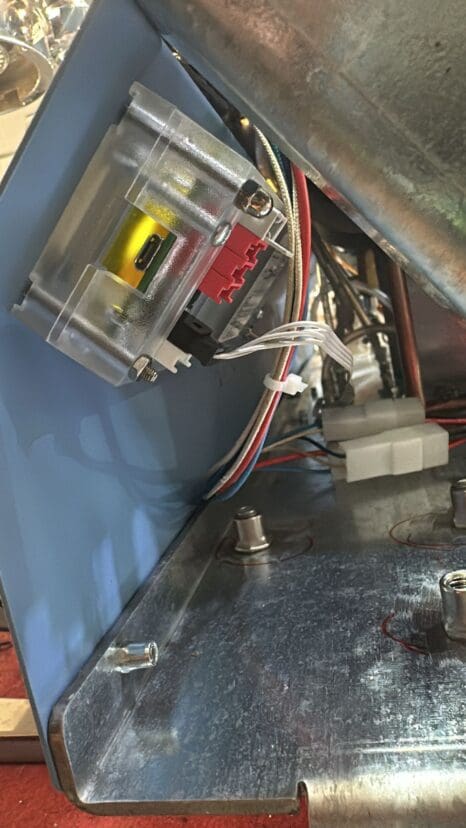
The gray computer ribbon cable can be pulled by the black connector and gently inserted. If you pull by the cable you can damage the part. There are no other connections to be checked.
All pictures owned/copyrighted by and courtesy of M&V/ELCOR/ACS in Italy.


 0
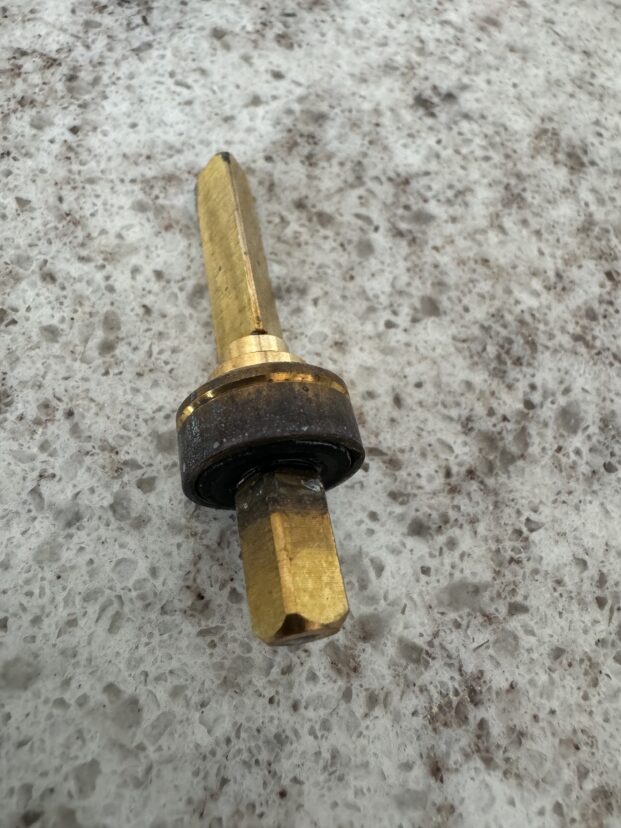
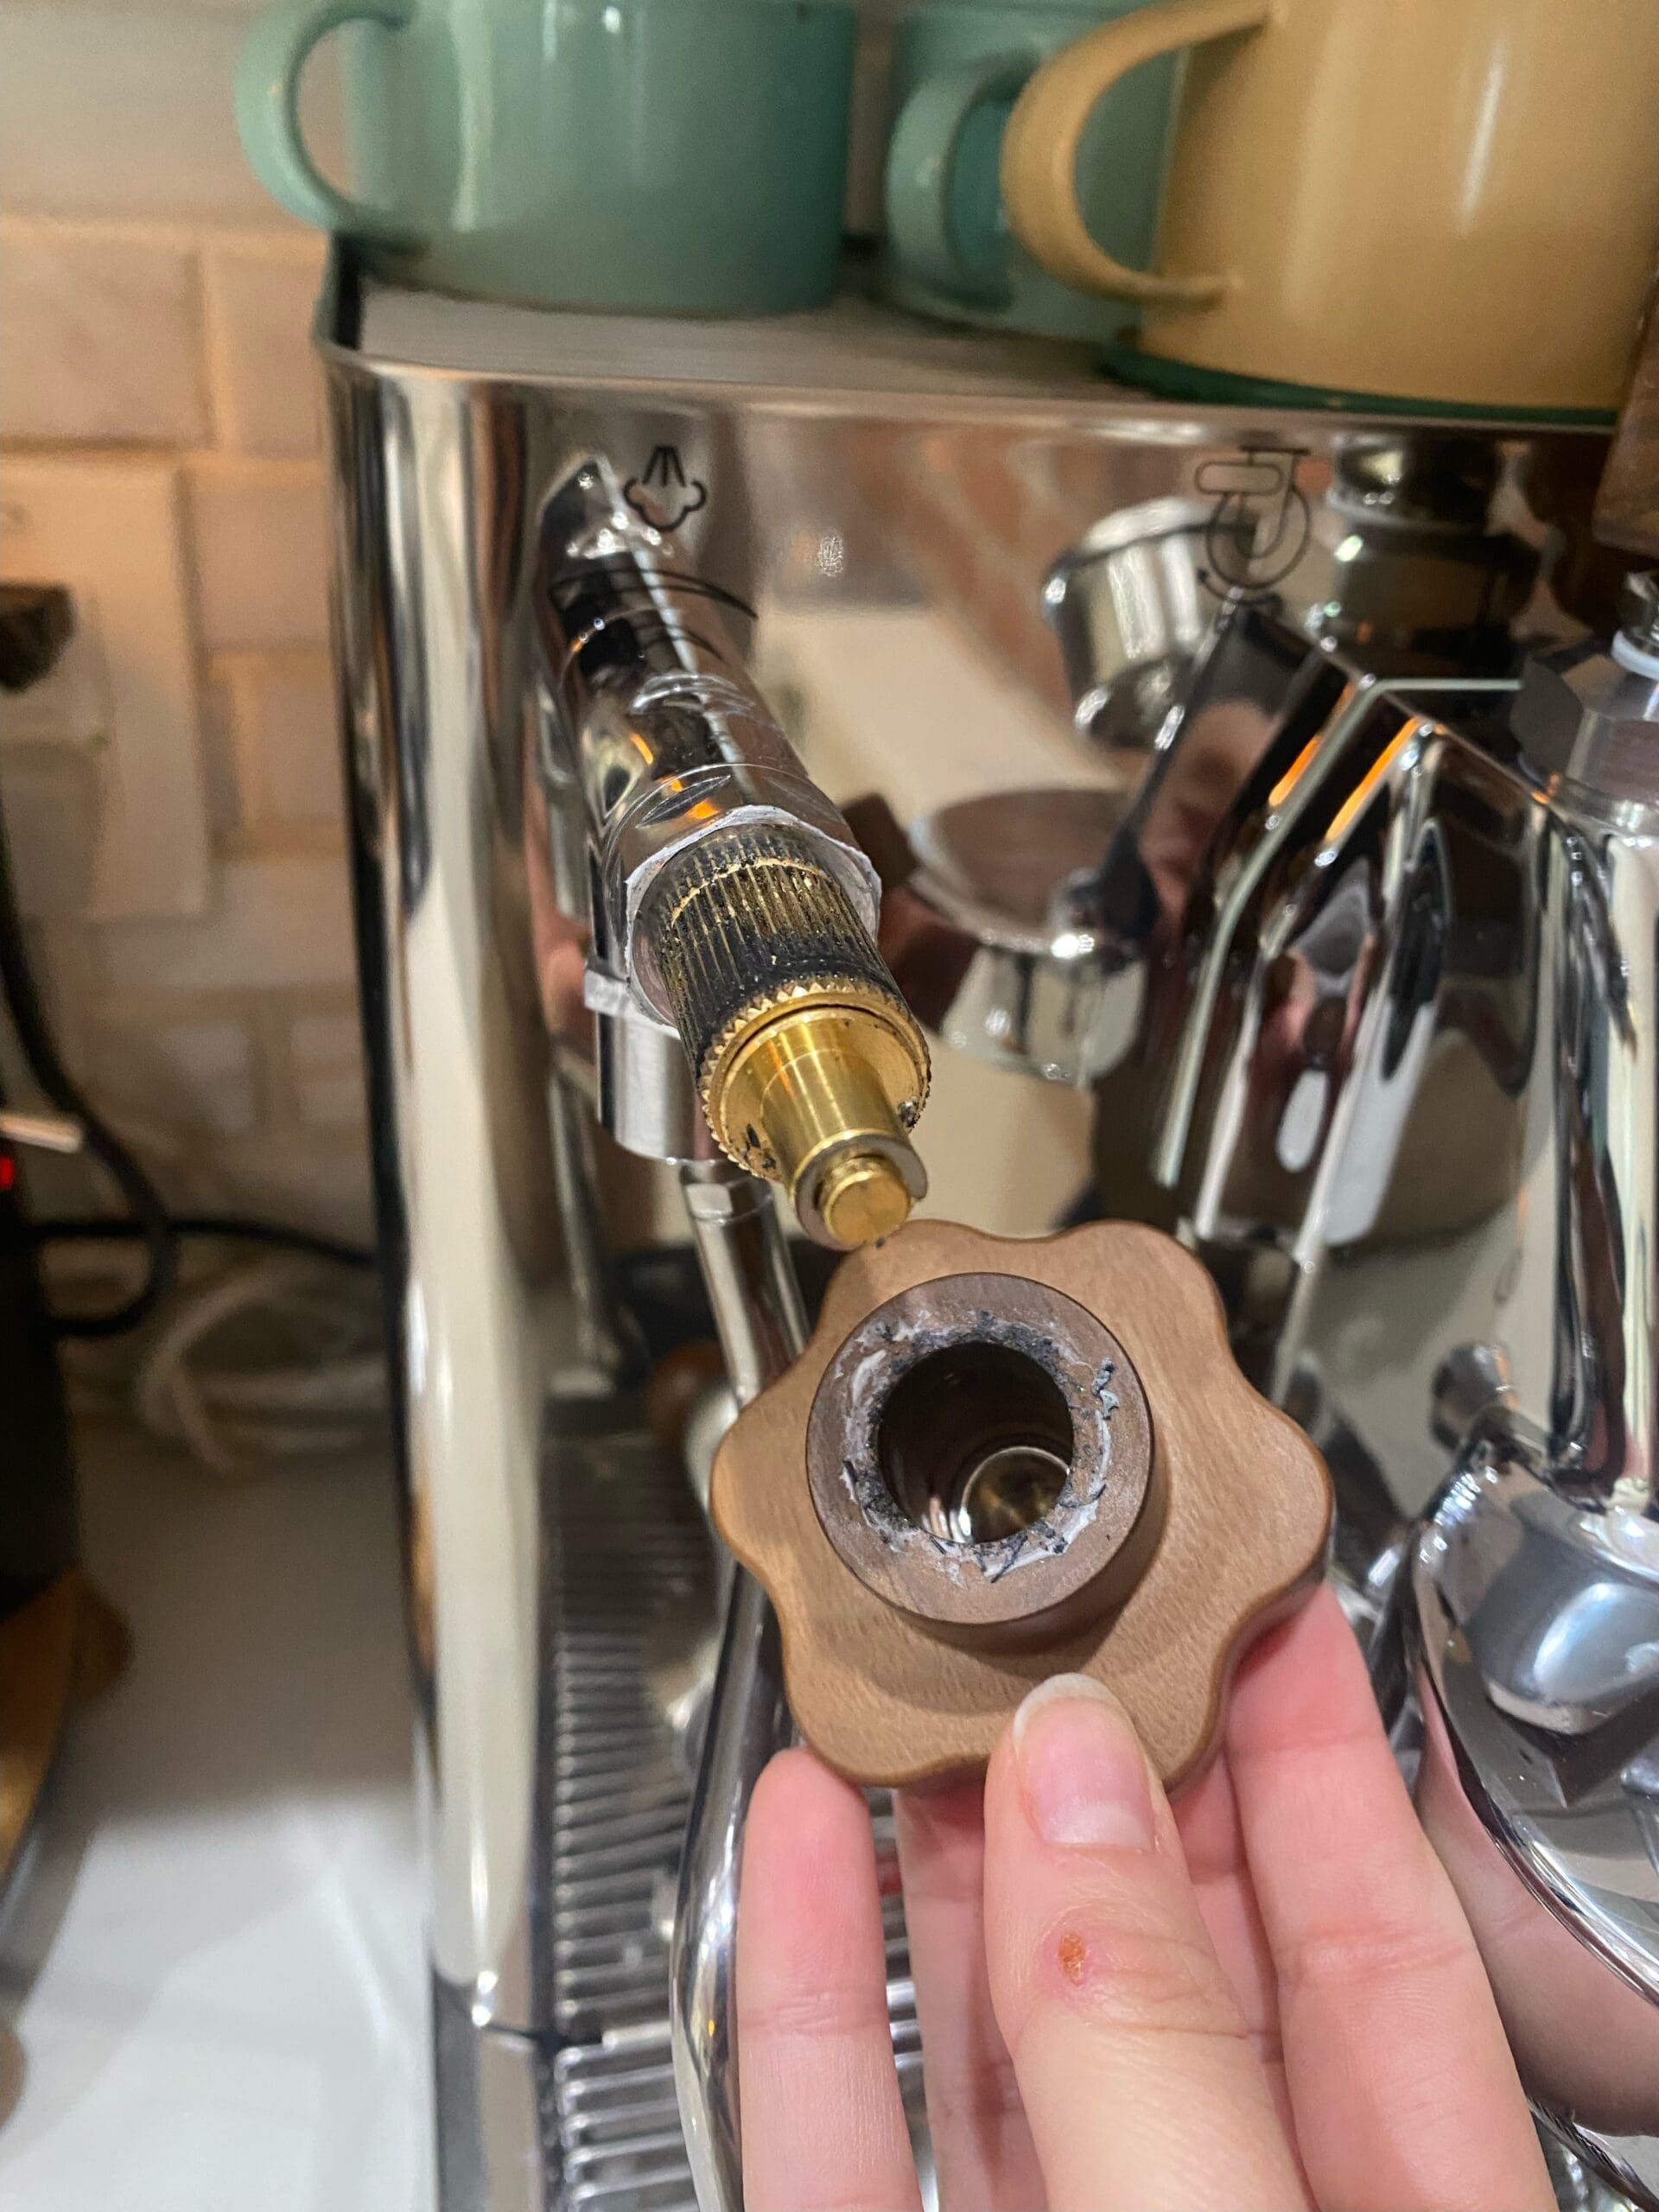
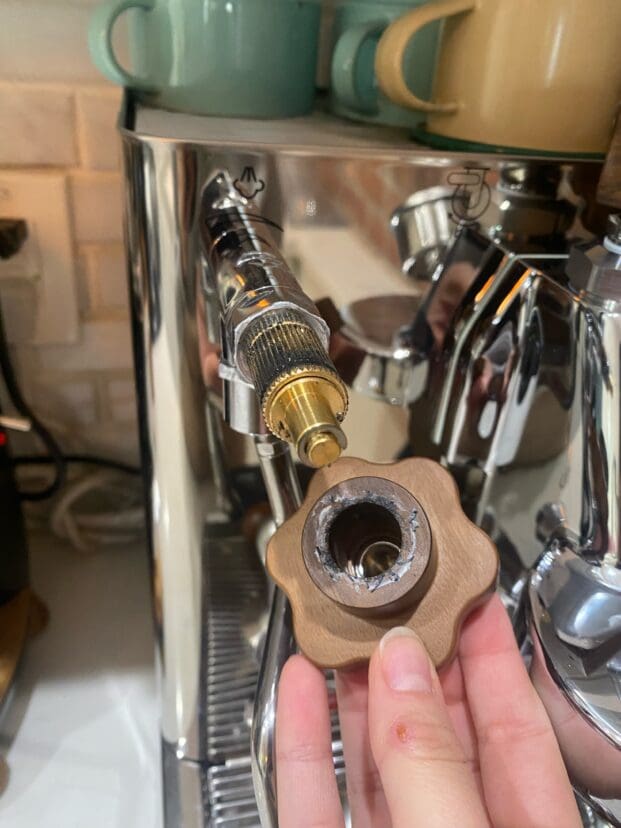
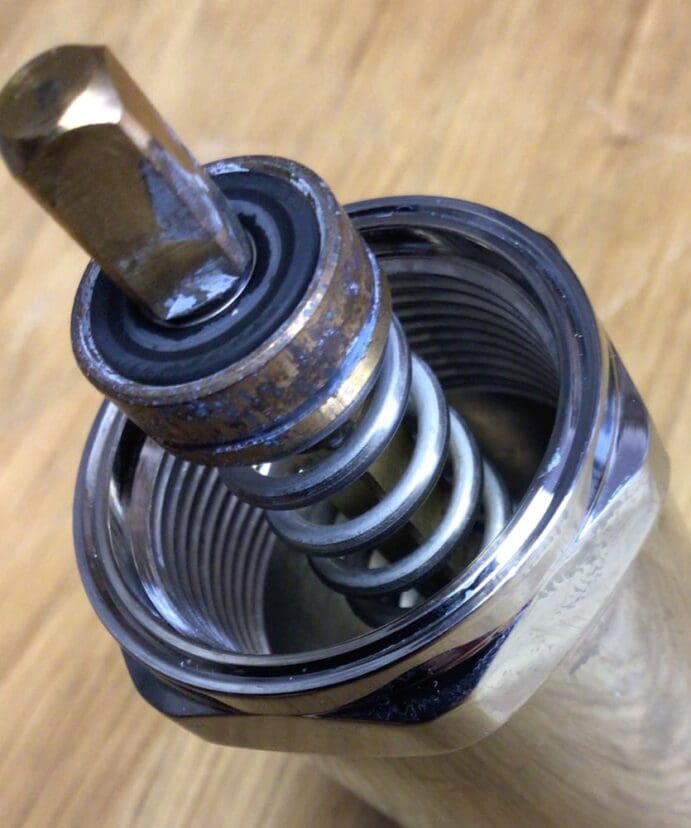
0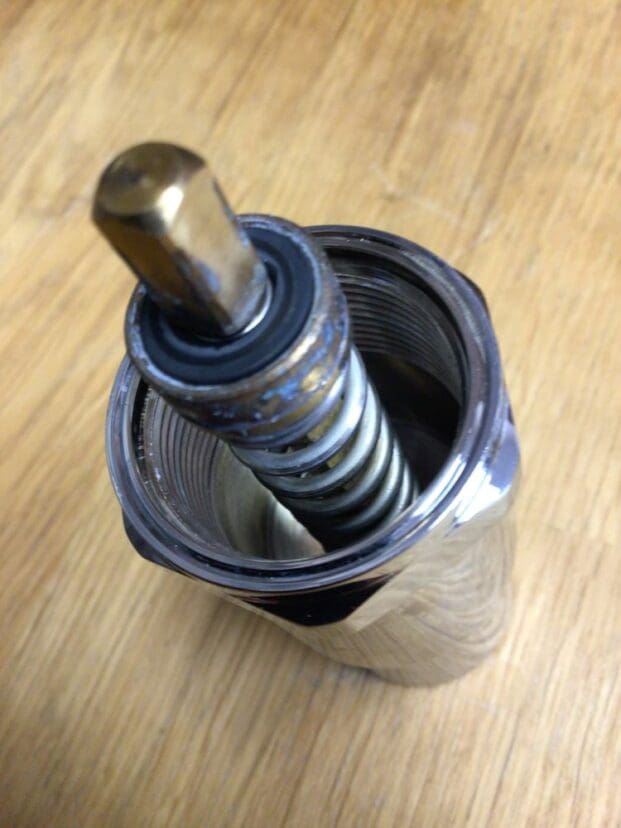 22, the entire Lelit line of espresso machines was the exception. In 2024, we had to start testing the entire Lelit line. Yesterday, we had a Lelit Bianca leaking from the manual grouphead valve. We took off the lower valve only to find build up on a brand new machine. The build up was not allowing a proper seal, and thus, when the group head lever was lifted, water leaked from the lower manual valve on the group head. In addition, the actual seal was imprinted.