[row]
[col span=”8″ span__sm=”12″]
[ux_text font_size=”1″ font_size__sm=”0.9″]
Note: This process of emptying the boilers only needs to be done in rare cases such as:
- If you need to ship your machine for repair, especially during cold months to reduce risk of the boilers/pipes from cracking
- if there is a prolonged period of non-use of your machine
Method #1 – this method requires some tools and removes virtually all the water from both boilers
- Power off and unplug your machine. Allow it to cool as much as possible to avoid the risk of burns.
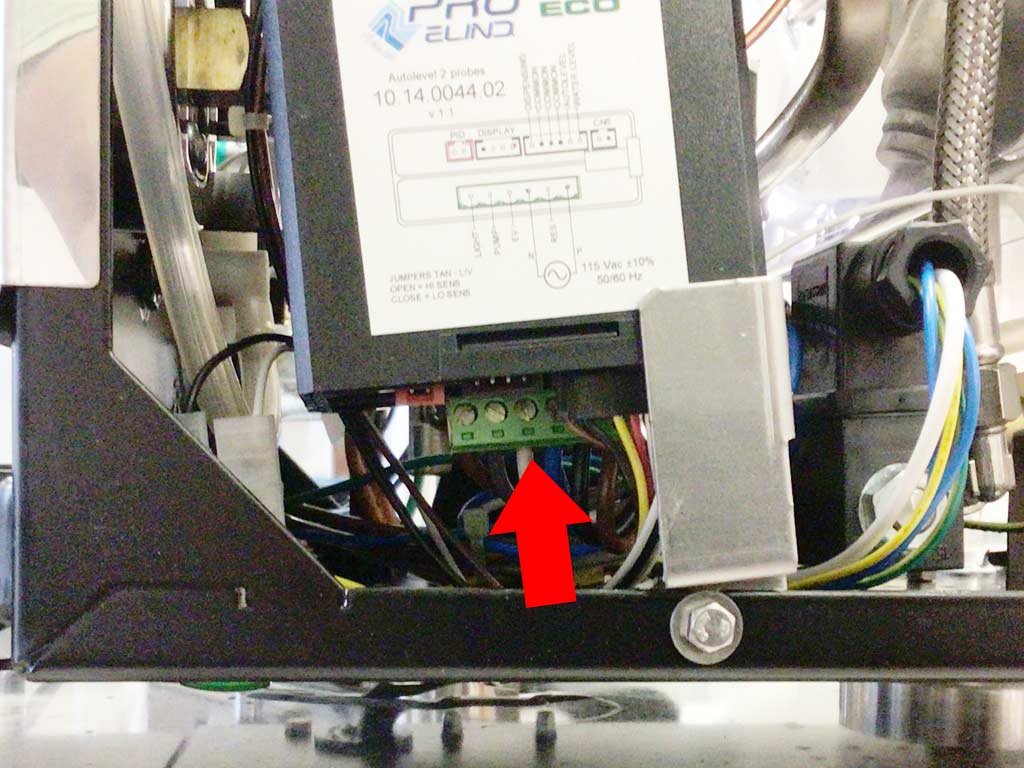
- Unscrew the plate underneath the machine (photo 1) using a 3 mm hexagonal wrench. There are 6 screws total.
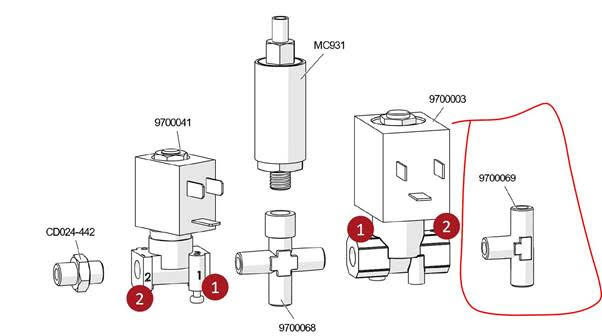
- To empty the coffee boiler, insert the supplied PTFE tube (photo 2, top) and open the valve to let all the water out. If you are having difficulty, you can remove the back panel of the machine for easier access.
- To empty the steam boiler, insert the supplied PTFE tube (photo 3, bottom), open the valve and let all the water out.
- After finishing, close the valves and replace the cap under the base.
Method #2 – this method doesn’t require any tools and removes most of the water from both boilers
- Power on the machine and let it fully heat.
- Remove the intake hose from the water tank.
- Put a large cup underneath the grouphead.
- Pull the lever down until steam comes from the grouphead and immediately power off the machine! (Please Note: you don’t want the machine operate without water in the boiler, but you cannot empty the coffee boiler with the machine off. So attentiveness and speed is important with this step)
- Empty the cup and put it underneath the hot water wand (you may need a bigger cup).
- Open up the hot water wand and keep open until as much water can be pushed out.
If you have any questions, please contact us.
[/ux_text]
[/col]
[col span=”4″ span__sm=”12″]
[ux_image id=”320778″ image_size=”original” lightbox=”true” lightbox_image_size=”original” animate=”fadeInRight”]
[ux_image id=”320777″ image_size=”original” lightbox=”true” lightbox_image_size=”original” animate=”fadeInRight”]
[ux_image id=”320776″ image_size=”original” lightbox=”true” lightbox_image_size=”original” animate=”fadeInRight”]
[/col]
[/row]