1st-line.us

Author: 1st-line

  • WARNING! READ FIRST! Elektra Semiautomatica Startup

    WARNING! READ FIRST! Elektra Semiautomatica Startup

    Congratulations on purchasing an Elektra Semiautomatica. I’m sure you are very eager to plug in and start making espressos and cappuccinos. However, it is very important to read and follow the steps below. A lot has happened from the Elektra facility in Europe to this beautiful machine showing up at your doorstep.

    What we do:

    When we receive your order, we bench-test the machine (only with water) before preparing it for shipment to you. We don’t assume any machine from any manufacturer is perfectly functional right out of the box. Even though most manufacturers do their bench testing, we still do ours. Afterward, we drain as much water as we can from the boiler(s).

    What you need to do:

    1. First, check for any moisture whether on the machine or in the box. When we bench test machines it is impossible to get every drop from the machine. IF THERE IS ANY MOISTURE VISIBLE, PLEASE WAIT 24 HOURS FOR THE MACHINE TO AIR DRY.  OPERATING THE MACHINE WHILE WET CAN RESULT IN DAMAGE TO THE UNIT AS WELL AS PERSONAL INJURY AND PHYSICAL DAMAGES WHICH WE (MANUFACTURER, IMPORTER, DEALER, AND RESELLER) WILL NOT BE RESPONSIBLE FOR.

    TO AVOID DAMAGE TO THE MACHINE WHICH WILL NOT BE COVERED UNDER WARRANTY. PLEASE FOLLOW THESE INSTRUCTIONS FOR START UP

    1. Look inside the top water bowl/tank. Check/remove any particles. Fill it with water to ~80% full.
    2. Check the coffee switch on the right side is not pressed in. It needs to be out.
    3. Check the power button is in the OFF position (usually pressed on the “0” side).
    4. Plug the unit’s electrical cord into a preferred GFI (GFIC) electrical outlet.
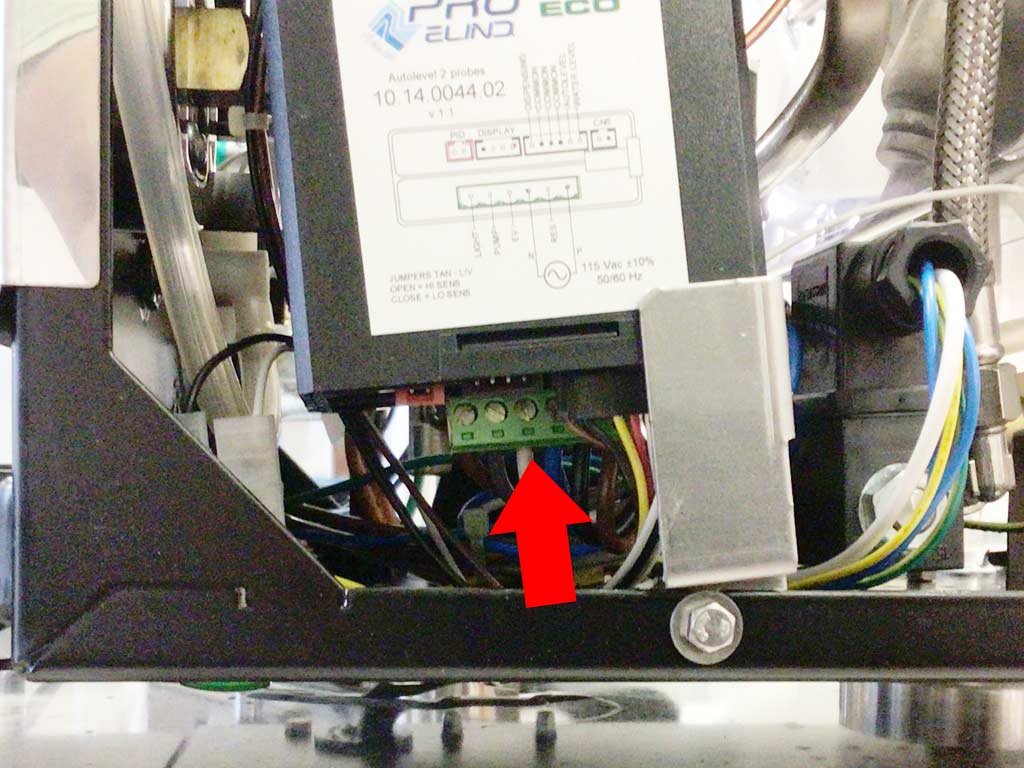
    5. As soon as you power the unit on (depress the power switch to “I”), immediately DEPRESS AND HOLD the boiler refill switch. You should hear the pump make a burring noise.

    WARNING: If you hear no sound, this means a wire came off the pump in shipping (it happens), please power it off to avoid the heating element from melting down.

    WARNING: If you hear a light hum, turn off the power immediately as a particle is blocking the pump or refill valve.

    1. CONTINUE DEPRESSING THE BOILER REFILL SWITCH UNTIL YOU SEE THE LEFT SIGHT GLASS FILL WITH WATER UP TO 75% (PLEASE NOTE THIS PROCESS CAN TAKE OVER A MINUTE BEFORE YOU SEE ANYTHING IN THE GLASS.
    2. You must maintain a minimum 25% water level in the sight glass at all times. Otherwise, the heating element inside will melt and damage, and this is not covered under warranty. The heating element will only melt
    3. and damage in this case and most likely will trip your GFI or circuit breaker if the unit does not heat, there is a reset on the bottom.

    Other things to do:

    • Power protection
      Get a surge suppressor to protect your machine against surges or spikes.
    • Water choice
      Used softened water. Hard, distilled, reverse osmosis, and purified waters can also damage your machine and will void your warranty. Have your water tested using a TDS meter (80-120ppm) and tests by a local water testing company at your facility with hardness at 1-2 French degrees. Water company tests are only reflective of results at their testing point.
  • Technical Support – Pump/Gauge Oscillating

    Customer issue: Why do the pump and respective brew pressure gauge oscillate during an espresso extraction on traditional espresso machines (not super automatics)? This is typically for vibration pump espresso machines, not rotary ones.


    The usual suspect is the grind fineness not being consistent or coffee beans that are too fresh (not degassed, but to rule out the espresso machine, the following should be performed:

    1. On a machine that is capable of backflushing (not all espresso machines are capable and skip this step if not), insert a blind basket in the portafilter or a blind insert into the 2-cup basket, and insert the portafilter into the grouphead. Engage the pump for 30-40 seconds, If there is no oscillation, then it is the grinder, beans, or grind fineness that is the issue. If it continues, proceed to Step 2.
    2. If there is no water softener in the tank, proceed to Step 3. If the pump oscillates like in Step 1, remove any water softener. Perform Step 1 again. If it doesn’t oscillate, then the water softener is clogged and usually needs replacement. If it continues, proceed to Step 3.
    3. Remove the water from the tank, fill it with a descaling solution, and run 8-12 ounces of solution through the grouphead without the portafilter. Perform a backflush routine (without backflush detergent as there is a descaling solution in the boiler and grouphead). Allow to sit for 4-8 hours. Remove the solution and rinse the tank. Then fill the tank with plain water. Run 8-12 ounces of water through the grouphead. Perform Step 1. If there is no oscillation, then you cleared the pathway causing the oscillation. If it still oscillates, proceed to Step 4.
    4. When using the blind filter or insert, check the power light to see if it dims. If it does dim, then the power supply may be an issue. If there is no dimming, then proceed to step 5.
    5. The pump at this point will need replacement. Please use the parts diagrams to find the correct part, and search by part number on our website for availability, pricing, and ordering.
  • How To: Repackaging Your Elektra Semi-Automatica

    [ux_text font_size=”1″]

    If you have to ship your Elektra Semi-Automatica, it must be very securely packed to prevent shipping damage. We highly recommend saving ALL the packaging after you have set up your machine. If you can’t keep the packaging for whatever reason, please read the steps below to see if you can replicate the packaging at the very least.

    Note:

    • When returning a machine for a refund, ALL the machine components must be returned. All of the following instructions must be done to prevent damage/partial refund.
    • When sending a machine for repair, we usually need JUST the machine and NONE of the loose components (unless their is a specific issue with one of the components). Some of the following instructions involving the loose components can be skipped.

    [/ux_text]
    [row v_align=”middle”]

    [col span=”6″ span__sm=”12″]

    [ux_text font_size=”1″]

    First, unplug the machine and let it cool. Empty the water out of the top basin. The easiest way to empty the water from the boiler is from the steam valve. Unscrew the wand, open the valve, and tilt the machine into your sink. Then close the valve.

    Keep the wand separate for now.

    [/ux_text]

    [/col]
    [col span=”6″ span__sm=”12″]

    [ux_image id=”310102″ image_size=”original”]

    [/col]

    [/row]
    [row v_align=”middle”]

    [col span=”6″ span__sm=”12″]

    [ux_text font_size=”1″]

    To protect from scratching, place the machine into a plastic cover.

    [/ux_text]

    [/col]
    [col span=”6″ span__sm=”12″]

    [ux_image id=”310103″ image_size=”original”]

    [/col]

    [/row]
    [row v_align=”middle”]

    [col span=”6″ span__sm=”12″]

    [ux_text font_size=”1″]

    The electrical cord can be wrapped around the grouphead. To prevent the plug from scratching, wrap it with a plastic covering and tape it to the cord.

    [/ux_text]

    [/col]
    [col span=”6″ span__sm=”12″]

    [ux_image id=”310104″ image_size=”original”]

    [/col]

    [/row]
    [row v_align=”middle”]

    [col span=”6″ span__sm=”12″]

    [ux_text font_size=”1″]

    Unscrew the top eagle. Place the lid in a separate cover and place it on the machine upside down. Put some cushioning between the two and then tape over the lid to secure it to the machine.

    Lay the 2 styrofoam halves down. The one with the large opening on the top (left in the picture) is where you lay the machine in on its back.

    Under the tape of the left half is where you put the eagle. Under the tape of the right half is where you put the portafilter. Both should be put in a bag before placing inside.

    [/ux_text]

    [/col]
    [col span=”6″ span__sm=”12″]

    [ux_image id=”310114″ image_size=”original”]

    [/col]

    [/row]
    [row v_align=”middle”]

    [col span=”6″ span__sm=”12″]

    [ux_text font_size=”1″]

    After placing the machine in, the steam wand can be placed near the upper right of the box. The wand should also be put in a bag.

    [/ux_text]

    [/col]
    [col span=”6″ span__sm=”12″]

    [ux_image id=”310119″ image_size=”original”]

    [/col]

    [/row]
    [row v_align=”middle”]

    [col span=”6″ span__sm=”12″]

    [ux_text font_size=”1″]

    The drip tray & grate and the extra accessories & parts should be wrapped in bags and placed on either side of the machine.

    [/ux_text]

    [/col]
    [col span=”6″ span__sm=”12″]

    [ux_image id=”310125″ image_size=”original”]

    [/col]

    [/row]
    [row v_align=”middle”]

    [col span=”6″ span__sm=”12″]

    [ux_text font_size=”1″]

    To prevent the machine from shifting while in transit, fill both sides of the machine with packaging material. Instapak is the ideal solution as it will fill all the open space. Place on both sides of the machine and separate from the loose components.

    [/ux_text]

    [/col]
    [col span=”6″ span__sm=”12″]

    [ux_image id=”310126″ image_size=”original”]

    [/col]

    [/row]
    [row v_align=”middle”]

    [col span=”6″ span__sm=”12″]

    [ux_text font_size=”1″]

    Seal the 2 styrofoam halves together and carefully place it into the main box. As you will see the top basin is sticking out from the top of the styrofoam. To keep it from shifting in transit, place packaging material around the basin. Again, Instapak is the ideal solution. Make sure to fill small space around the back of the basin.

    [/ux_text]

    [/col]
    [col span=”6″ span__sm=”12″]

    [ux_image id=”310132″ image_size=”original”]

    [/col]

    [/row]
    [row v_align=”middle”]

    [col span=”6″ span__sm=”12″]

    [ux_text font_size=”1″]

    Also, don’t forget the instruction manual.

    [/ux_text]

    [/col]
    [col span=”6″ span__sm=”12″]

    [ux_image id=”310135″ image_size=”original”]

    [/col]

    [/row]

  • Quick Note: Rocket Appartamento (No Power)

    A customer who purchased a Rocket Appartamento from us said their machine wouldn’t power on. Our technical support staff worked with the customer over the phone. After removing the body panel and sending some pictures, we noticed one of the wires was disconnected from the brain unit. Once the customer connected it, the machine powered on normally.

    Part of our process when we sell an espresso machine is to bench-test them (with water only) before they ship out. Sometimes we catch some small issues even though they come straight from the manufacturer. In this case, the customer’s machine worked normally. During transit, a wire came loose. A simple issue like this has happened in the past on other models, but is rare.

    Rocket-Appartamento-no-power

  • Quick Note: Lelit 2100026

    Lelit has informed us of a change regarding the Lelit Bianca.

    The fitting that connects to the copper pipe (SKU 2100026) has changed. Originally the fitting consisted of 3 parts (2x CD024-442 & 1x CD024-462).

    On newer Lelit Bianca’s they have replaced that fitting with 1 part (9700069).

    Lelit-new-1000166

    Unfortunately, Lelit does not offer that part separately.  You would need to purchase the whole hydraulic circuit (SKU 1000166).